Rollup搭建个人组件库
预期
- 支持vue2, 远期支持多框架
- 支持tree-shaking(是否需要保持目录结构)
- 按需加载
构建记录
1、初始化空项目
npm init
2、核心要素:rollup
1) 流程:
- 全局安装rollup;
- 新建并配置rollup.config.js
- 配置命令行
- 组件代码结构
配置: ```javascript // rollup.config.js export default { // 核心选项 input, // 必须 external, plugins,
// 额外选项
onwarn,

// danger zone
acorn,
context,
moduleContext,
legacy,

output: {  // 必须 (如果要输出多个,可以是一个数组)
  // 核心选项
  file,    // 必须
  format,  // 必须
  name,
  globals,

  // 额外选项
  paths,
  banner,
  footer,
  intro,
  outro,
  sourcemap,
  sourcemapFile,
  interop,

  // 高危选项
  exports,
  amd,
  indent,
  strict
},
};
#### 2)问题:
  * export格式以及打包区别
  * 打包format格式:esm vs. cjs,iife, umd格式
```javascript
// 原始入口:index.js
import { sayHello } from "./src/test";

export default {
    sayHello
}
// cjs打包产物:bundle.cjs.js
'use strict';

const sayHello = () => {
    console.log('hellow world');
};

var index = {
    sayHello
};

module.exports = index;
// esm打包产物:bundle.esm.js
const sayHello = () => {
    console.log('hellow world');
};

var index = {
    sayHello
};

export { index as default };
// iife格式产物
(function () {
    'use strict';

    const sayHello = () => {
        console.log('hellow world');
    };

    var index = {
        sayHello
    };

    return index;

})();
// umd格式产物
(function (global, factory) {
    typeof exports === 'object' && typeof module !== 'undefined' ? module.exports = factory() :
    typeof define === 'function' && define.amd ? define(factory) :
    (global = typeof globalThis !== 'undefined' ? globalThis : global || self, global.umdbundle = factory());
})(this, (function () { 'use strict';

    const sayHello = () => {
        console.log('hellow world');
    };

    var index = {
        sayHello
    };

    return index;

}));
- 打包出口配置多个
3、核心要素:代码组织结构
他山之石:element-ui(vue2版本)
1)element入口文件结构:index.js
element-ui对组件采取了全局引入的方式,并且支持了对ssr场景的兼容效果。
import Dialog from '../packages/dialog/index.js';

const components = [
    Dialog,
]

const install = function(Vue, opts = {}) {
  locale.use(opts.locale);
  locale.i18n(opts.i18n);

  components.forEach(component => {
    Vue.component(component.name, component);
  });

  Vue.use(InfiniteScroll);
  Vue.use(Loading.directive);

  Vue.prototype.$ELEMENT = {
    size: opts.size || '',
    zIndex: opts.zIndex || 2000
  };

  Vue.prototype.$loading = Loading.service;
  Vue.prototype.$msgbox = MessageBox;
  Vue.prototype.$alert = MessageBox.alert;
  Vue.prototype.$confirm = MessageBox.confirm;
  Vue.prototype.$prompt = MessageBox.prompt;
  Vue.prototype.$notify = Notification;
  Vue.prototype.$message = Message;
};

/* istanbul ignore if */
if (typeof window !== 'undefined' && window.Vue) {
  install(window.Vue);
}

export default {
  Dialog,
}
2)组件目录结构:
___ Dialog
 |__ src
 |   |__ component.vue
 |__ index.js
// index.js

import ElDialog from './src/component';

/* istanbul ignore next */
ElDialog.install = function(Vue) {
  Vue.component(ElDialog.name, ElDialog);
};

export default ElDialog;
其中对于组件定义了install函数,这意味着该组件可以作为插件的形式引入。 参考
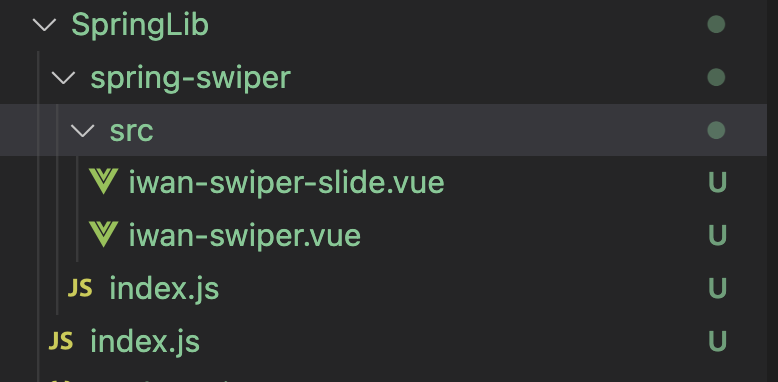
笔者模仿element组件库结构进行如下代码组织:
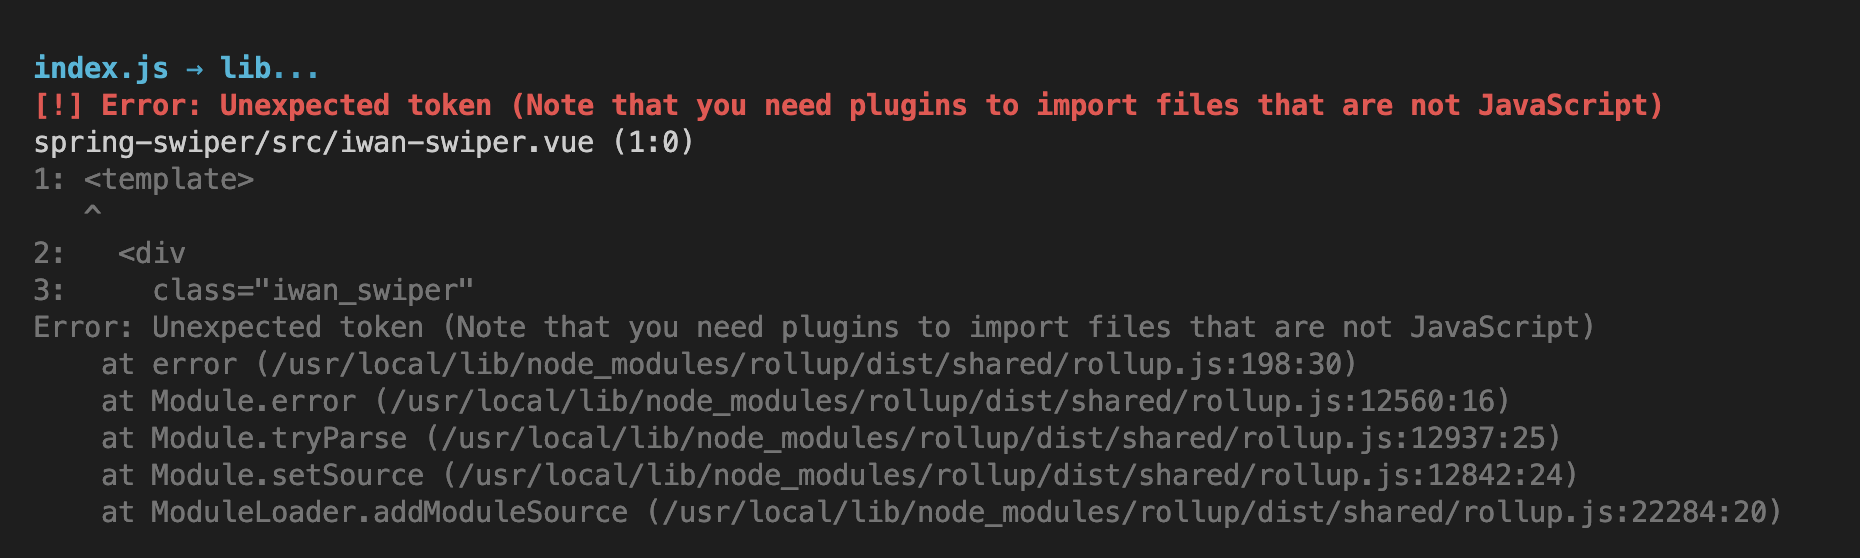
此时若尝试打包会出现如下错误:
4. 核心要素: rollup插件
官方维护的插件清单 但似乎还是不够全;
1) 需要解析vue模版的插件
npm install rollup-plugin-vue
npm install @vue/compiler-sfc
2) 需要解析scss的插件:rollup-plugin-postcss
[!] (plugin postcss) Error: You need to install one of the following packages: "sass", "node-sass" in order to process SASS files
5. 初步可用的rollup配置文件
import vue from 'rollup-plugin-vue'
import postcss from 'rollup-plugin-postcss'

export default [
  // ESM build to be used with webpack/rollup.
  {
    input: 'index.js',
    output: {
      format: 'esm',
      file: 'dist/springlib.esm.js'
    },
    plugins: [
      vue(),
      postcss({
        plugins: []
      })
    ],
    external:['vue'], // 其中的包将不会打进bundle中
  },
  // SSR build.
  {
    input: 'index.js',
    output: {
      format: 'cjs',
      file: 'dist/springlib.ssr.js'
    },
    plugins: [
      vue({ template: { optimizeSSR: true } }),
      postcss({
        plugins: []
      })
    ],
    external:['vue'], // 其中的包将不会打进bundle中
  },
]
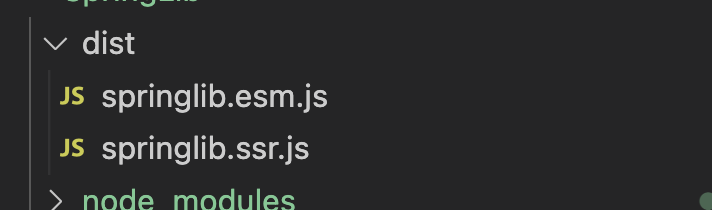
产物:
5-1. 【配置优化】保持原始目录结构以支持按需加载:
  // preseve module
  {
    input: 'index.js',
    output: {
      format: 'esm',
      dir: 'es/',
      sourcemap: false,
      preserveModules: true,
      preserveModulesRoot: 'src',
    },
    plugins: [
      vue(),
      postcss({
        plugins: []
      })
    ],
    external:['vue'], // 其中的包将不会打进bundle中
  },
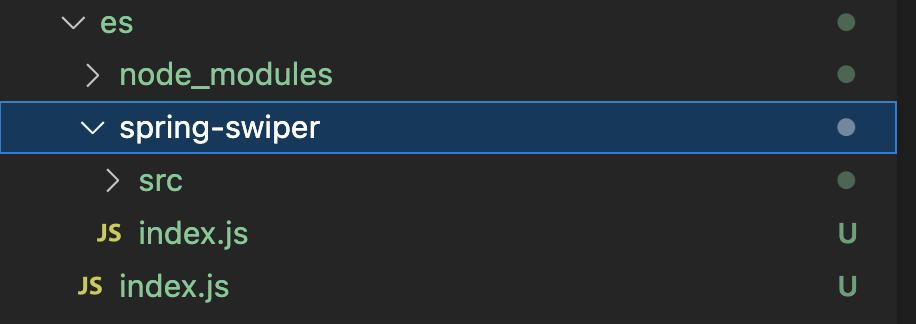
产物:通过如上配置可保持原始模块结构
6. 本地调试组件库:【待完成】
1)新建example目录,初始化一个vue2项目,使用官方脚手架新建即可 。
该脚手架会基于vite生成一个vue2项目
npm create vue@2【⚠️注意】此时需要将example目录排除在rollup打包目录之外。在external选项中添加example即可
  external:[
    'vue',
    /node_modules/,
    path.resolve( __dirname, '/example/' ),
  ],
2) 引用打包产物并运行
报错:
[vite] Internal server error: Preprocessor dependency "sass" not found. Did you install it?
这意味着:尽管组件库包中已经安装了node-sass,但打包产物似乎没能将sass转换成css。
原因在于少装了sass-loader模块。
【拓展】sass-loader / node-sass / sass / dart-sass之间的区别:
sass依赖原来是dart-sass,是为了与node-sass区分的。后来官网将node-sass废弃了,就一同将dart-sass改名为了sass。
7. 通过npm发布
- 如何使用npm发布包?
// 1. 注册并登录npm官网获取账号和token // 2. 登录自己的npm账号 npm login usename token // 3. 发布包 npm publish // 此时便可在官网访问自己的包 发布什么内容?
- 源码发布:直接在根目录下执行npm publish 此时用户npm install时相当于将你的组件库源代码复制了一份。
- 仅发布打包产物:进入打包输出目录spring-lib中,生成一个package.json文件,再执行npm publish,此时npm包中将只有打包产物。
Notion
node-sass将停止更新维护,官方推荐改用dart-sass